Your laptop is ready to call it quits so it’s time for an upgrade. You debate whether to purchase that red, classy-looking 14” laptop (Red is your favorite color!) or add a couple of bucks and end up with huge and boring-looking desktop computer, but powerful enough to get you through more than one game of Left4Dead. Then, along came Mac Mini. Much powerful than the laptop you’ve had in mind and much pleasing to your eyes. It can definitely outlive that red, classy laptop; which makes it a sensible purchase. It’s compact, yet, powerful enough. But it’s a bit pricey and weak compare to that dull (but logical choice) desktop computer. And forget about upgrading the components when you start using an Apple product. That’s a no-no with Apple. You want an upgrade? Run to your nearest Apple Center and start crapping out money.
For weeks you dream about seeing that adorable Mac Mini on your table… just sitting there as your table’s main attraction. And for weeks that dream get shatter when you think of the money you’ll also need to purchase a monitor, a keyboard, and a mouse… yes, you will need those. YOU WILL ALSO NEED A NEW DESK if you’re upgrading from laptop to desktop.
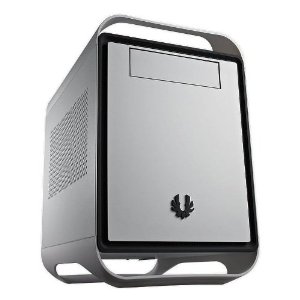
Finding the perfect case was the only thing holding me back from upgrading to desktop and when I saw BitFenix Prodigy (white), it was love at first sight. Yes, I am superficial, whatever. BitFenix Prodigy (white) mini-ITX chassis was made intentionally for people like me, no, it was MADE FOR ME.
IS IT A DESKTOP COMPUTER YET?
No, silly, you still have to buy components to make your little project come to life. Before going on a shopping spree, you need to ask yourself: What do I need? Do I plan on using my PC for web browsing (not just Facebook), video streaming? Am I going to do a lot of gaming? Am I going to use heavy-duty programs for photography or video editing? What’s so fun about building your own computer is that you can customize it exactly how you want it, based on your needs (and budget).
Listed below are the basic components that you will need:
- PC Case/Chassis – you should already know what this is after reading my dilemma from the beginning.
- Motherboard – what connects all the other components to one another. It holds the CPU, RAM, and plug-in cards.
- Processor (CPU) – the “brain” of your computer, carries out tasks. So, the faster the better. ***you cannot randomly purchase a motherboard and a CPU, you still have to check which CPU will work with your motherboard. Google your motherboard’s cpu support list to check compatibility, or go here if you plan on using Intel, anyway.
- RAM (memory) – Your computer’s short-term memory. Your computer uses it to hold all of the programs that are currently running, but its contents dissolve the moment your turn off your computer. So, larger capacity = you can have more programs running at once.
- Hard Drive(s) – Long-term memory (it contains your operating system, programs and where you can keep all of your embarrassing old photos, important, files, etc.)
- Power Supply – Supplies electricity to your computer. Leave enough headroom when it comes to calculating wattage requirements. Here’s a calculator, you’re welcome. You’d see a lot of pre-built computers with powerful specs or decent-looking case but come with crappy power supply. Do you want to fry your whole system? No? THEN, DON’T BE A CHEAPSKATE AND BUY A HIGH QUALITY AND ADEQUATE POWER SUPPLY.
Other parts to consider:
- Video Card(s) – a.k.a. GPU, for complex graphics. If you only plan on playing your cute CoC game and watch videos on YouTube, you don’t need to worry about getting a graphics card. CPUs today have integrated graphics that allows smooth gameplay at low to medium settings, so you’re good to go without it.
- Sound Card(s) – No need to purchase one as motherboards now have integrated sound card.
- CD or DVD drive
- SATA cables – most motherboards only come with 2 SATA cables to connect to hard drives. *1 for each drive
- Extra Case Fans – most chassis come with 2 fans (I think) and if you plan on hoarding everything that I have listed above then you will need extra fans.
Aside from web browsing, converting audio files to transcripts and blogging, I also play FPS games and I plan on using desktop programs for photo editing, video editing (how do I plan on squeezing those in on my schedule? WHO KNOWS). Anyway, I have a rough idea of performance I expect from my desktop. Besides, I can always upgrade if things get too intensive for my Eve-O (my computer’s too pretty to not have a name)
THE COMPONENTS I BOUGHT:
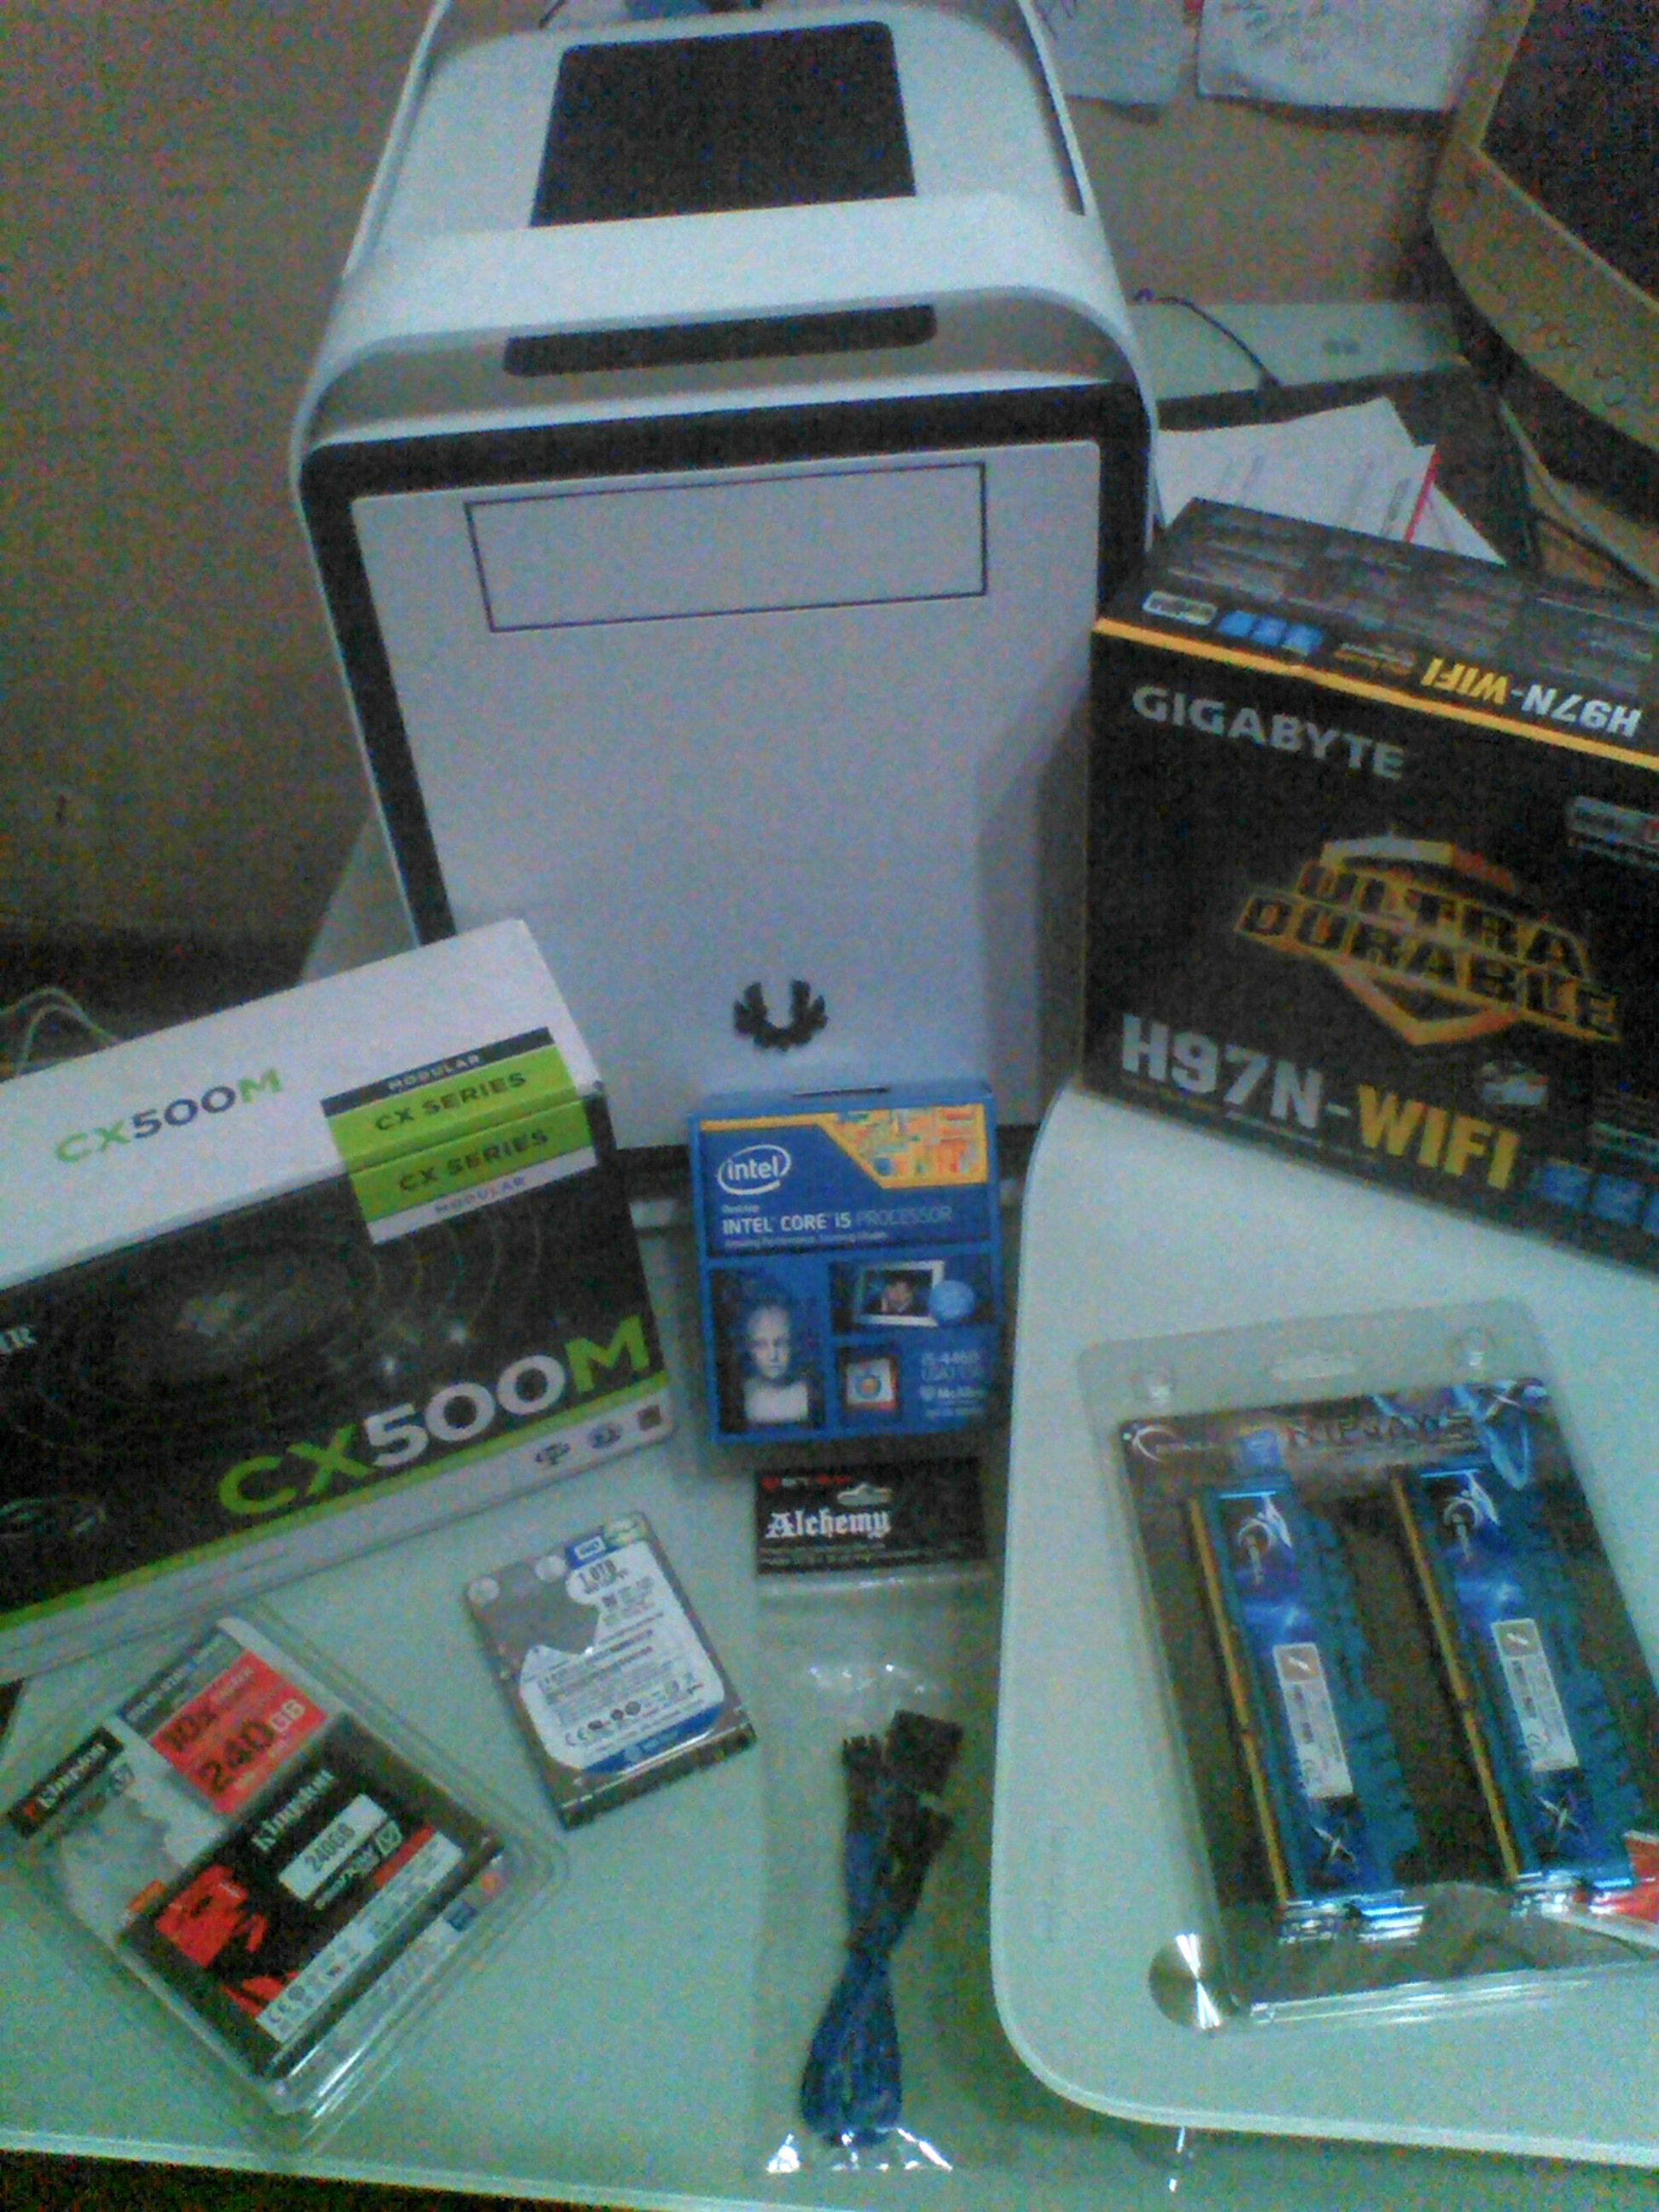
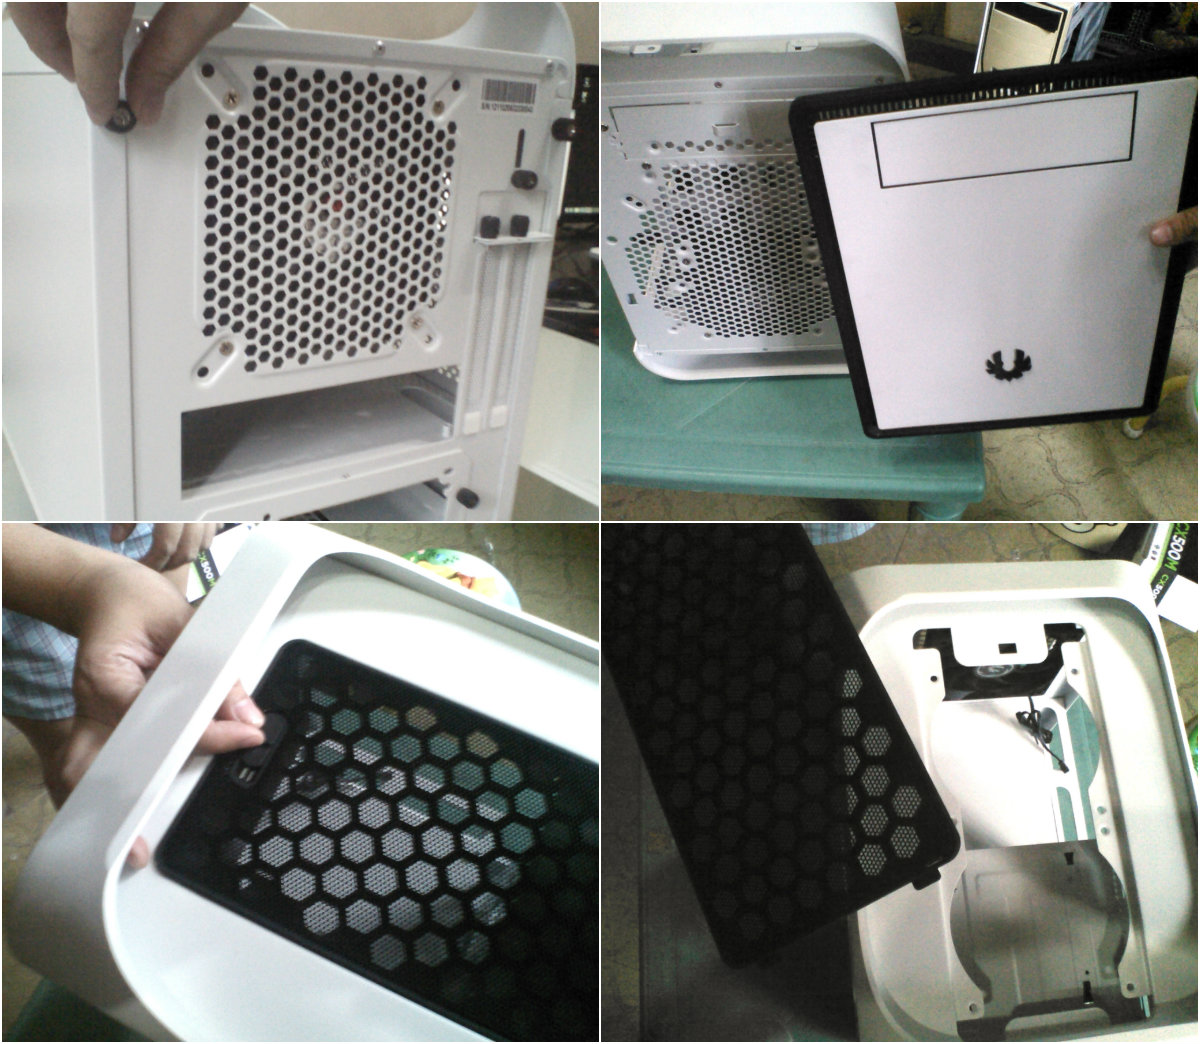
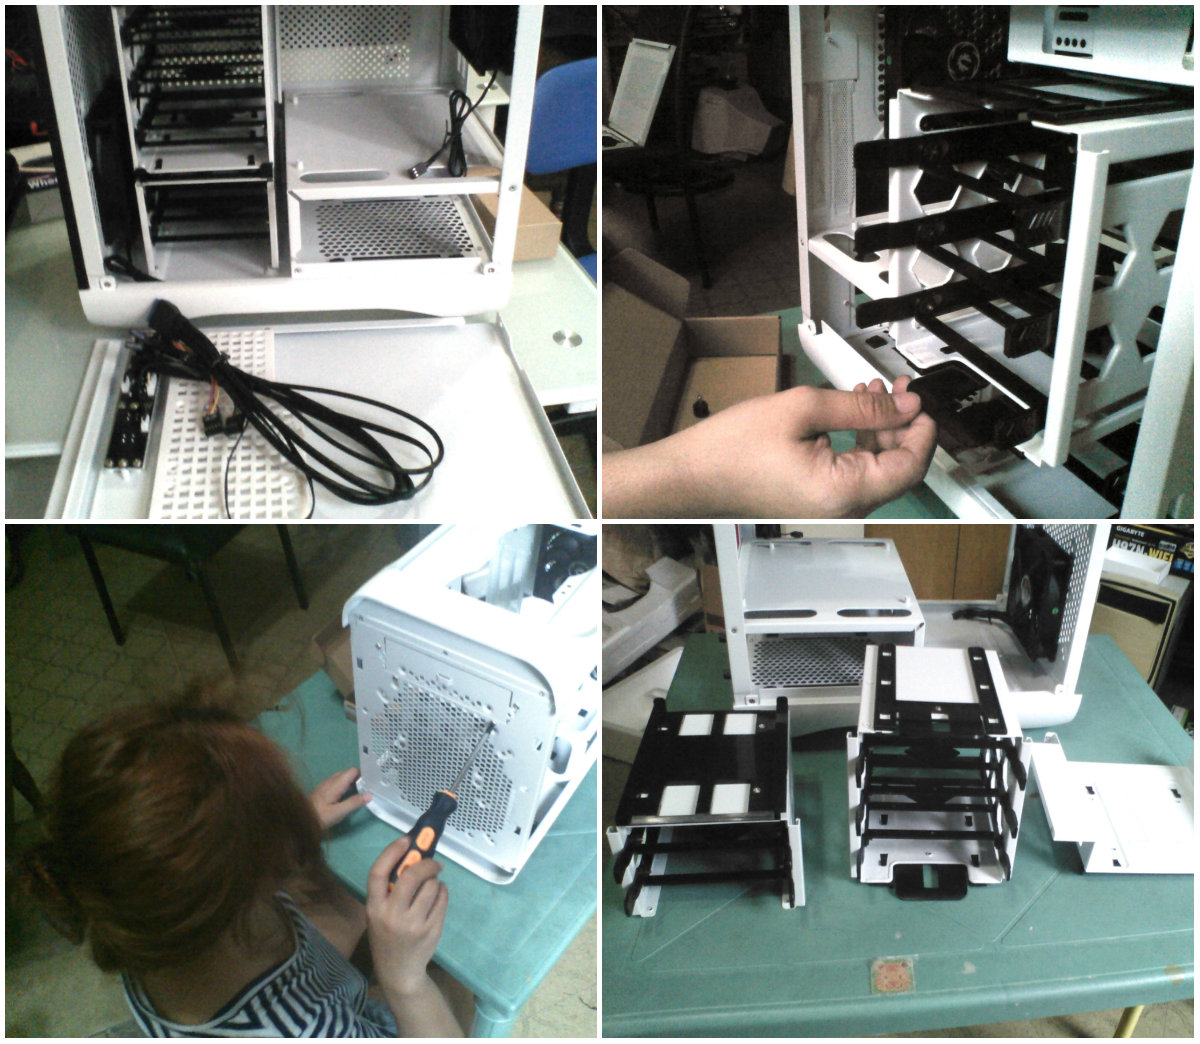
PC Case/ Chassis: BitFenix Prodigy mini-ITX
It’s small (just like me), but can still pack a punch (again, just like me!). It also has 15 modular and removable drive bays…who you calling small now? I had no trouble carrying and moving it around the room for photos because of its FyberFlex composite handles. Also, opening the case is hassle-free because of its tool-free drive locking (thumbscrews), a huge plus if it’s your first time because you will be dealing with tiny screws, thick screws, octagonal screws, screws, screws!
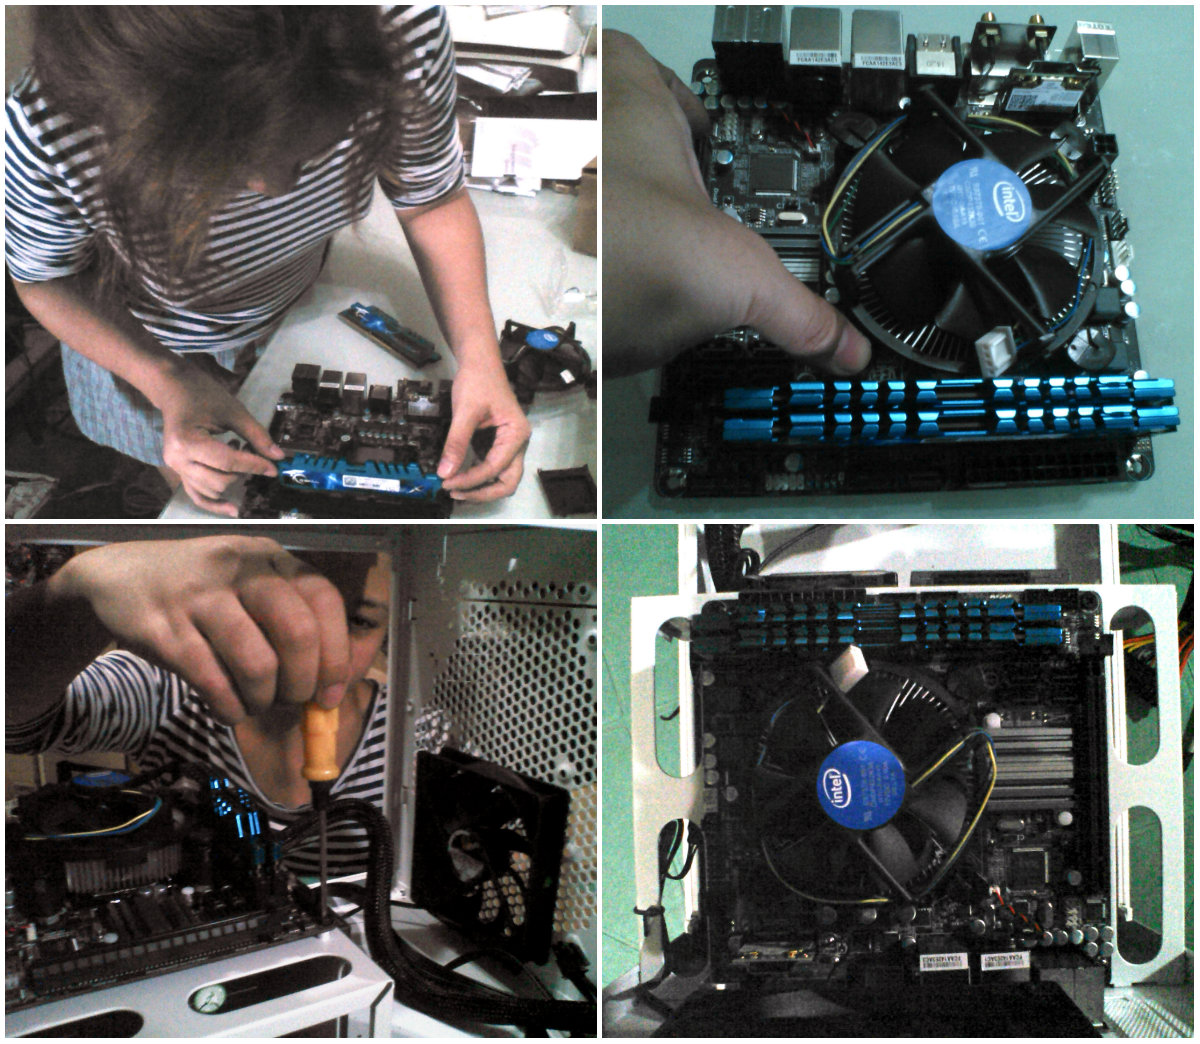
Motherboard: Gigabyte GA-H97N-WIFI. I’ve got a cute chassis, now I need a tiny motherboard to fit inside. GA-H97N-WIFI is a Mini-ITX motherboard, it’s about half the size of standard motherboard. It’s just a compact version of any standard ATX. It has features such as:
- 4K HD support (you can use your 4k resolution monitor)
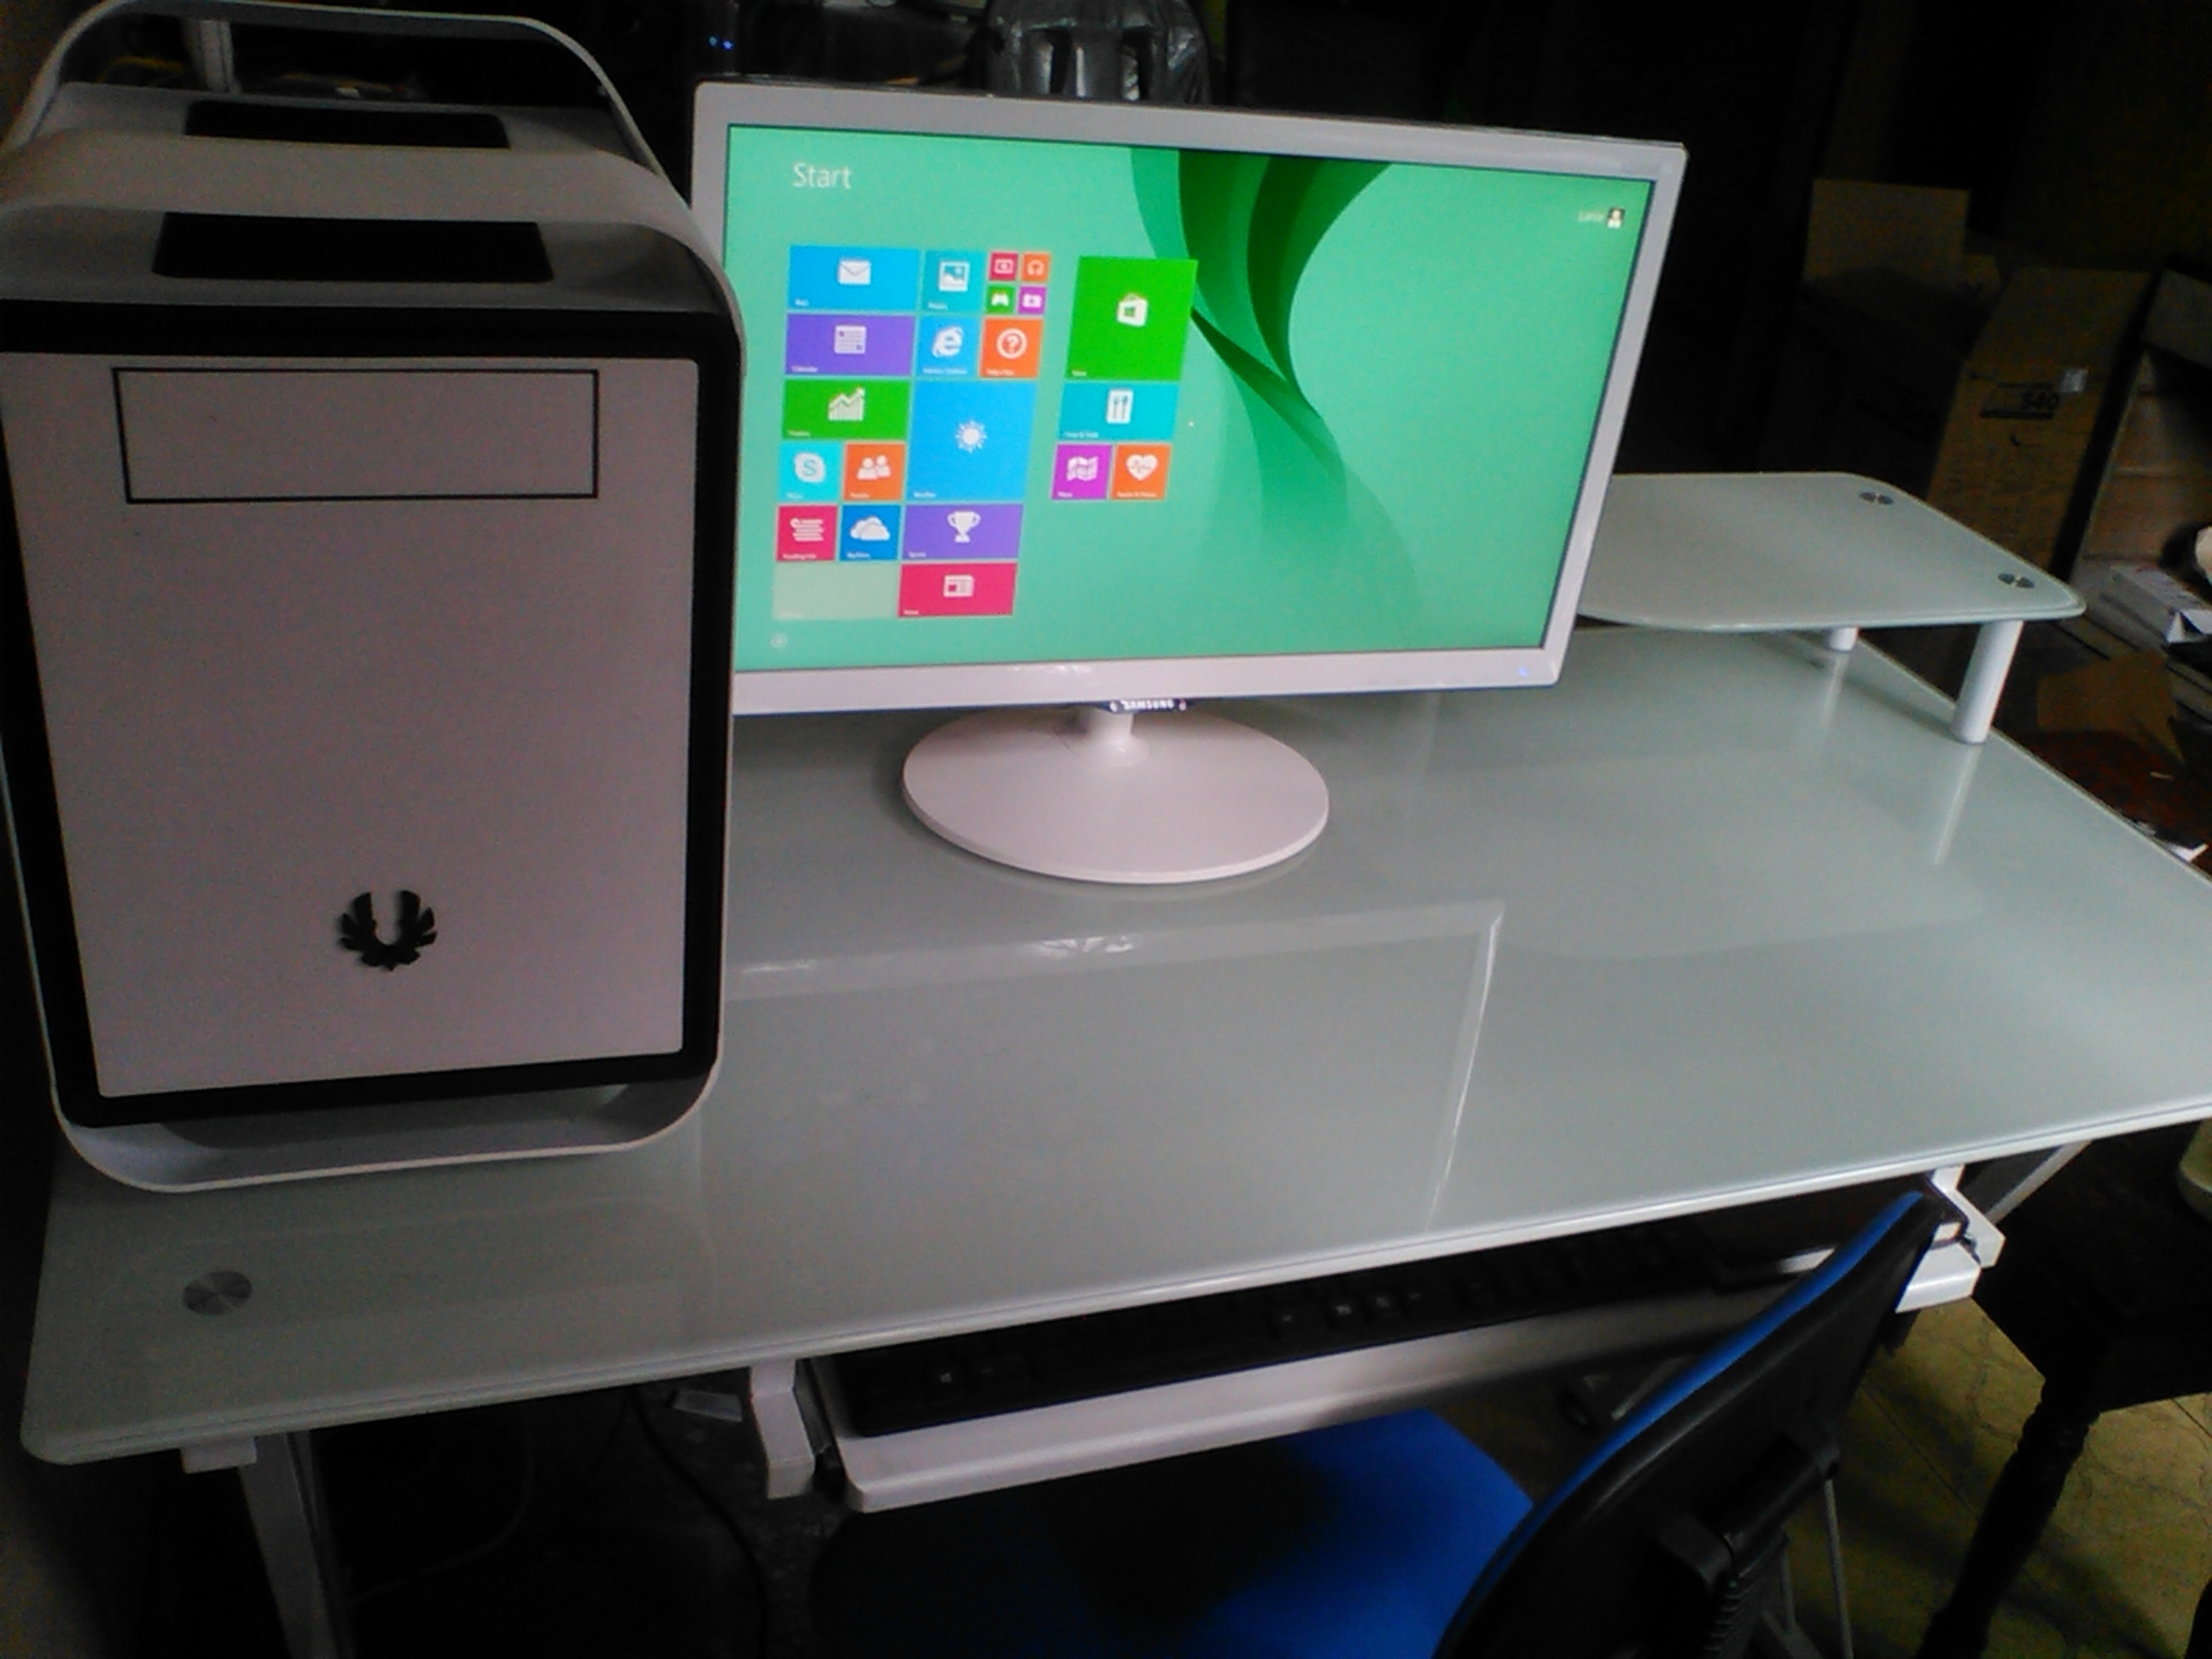
- 1 DVI and 2 HDMI ports (and use all three simultaneously!) **when buying a monitor, make sure that the motherboard port is the same as your monitor’s port. I didn’t bother to check and bought a monitor with VGA port and cable – my motherboard has HDMI port, no VGA port (I guess VGA’s too old school) so, go figure.
- WIFI and Bluetooth support

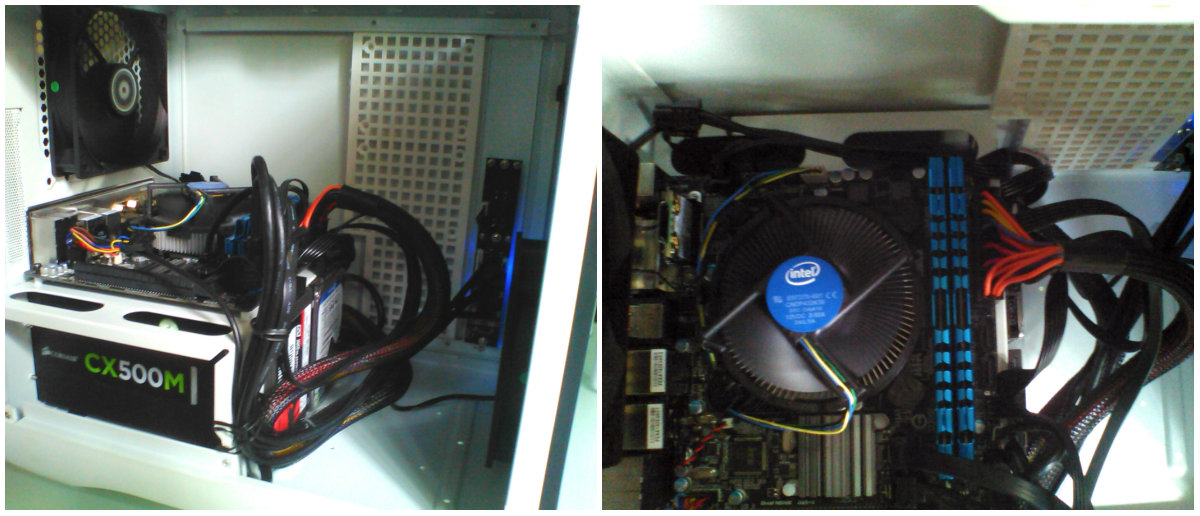
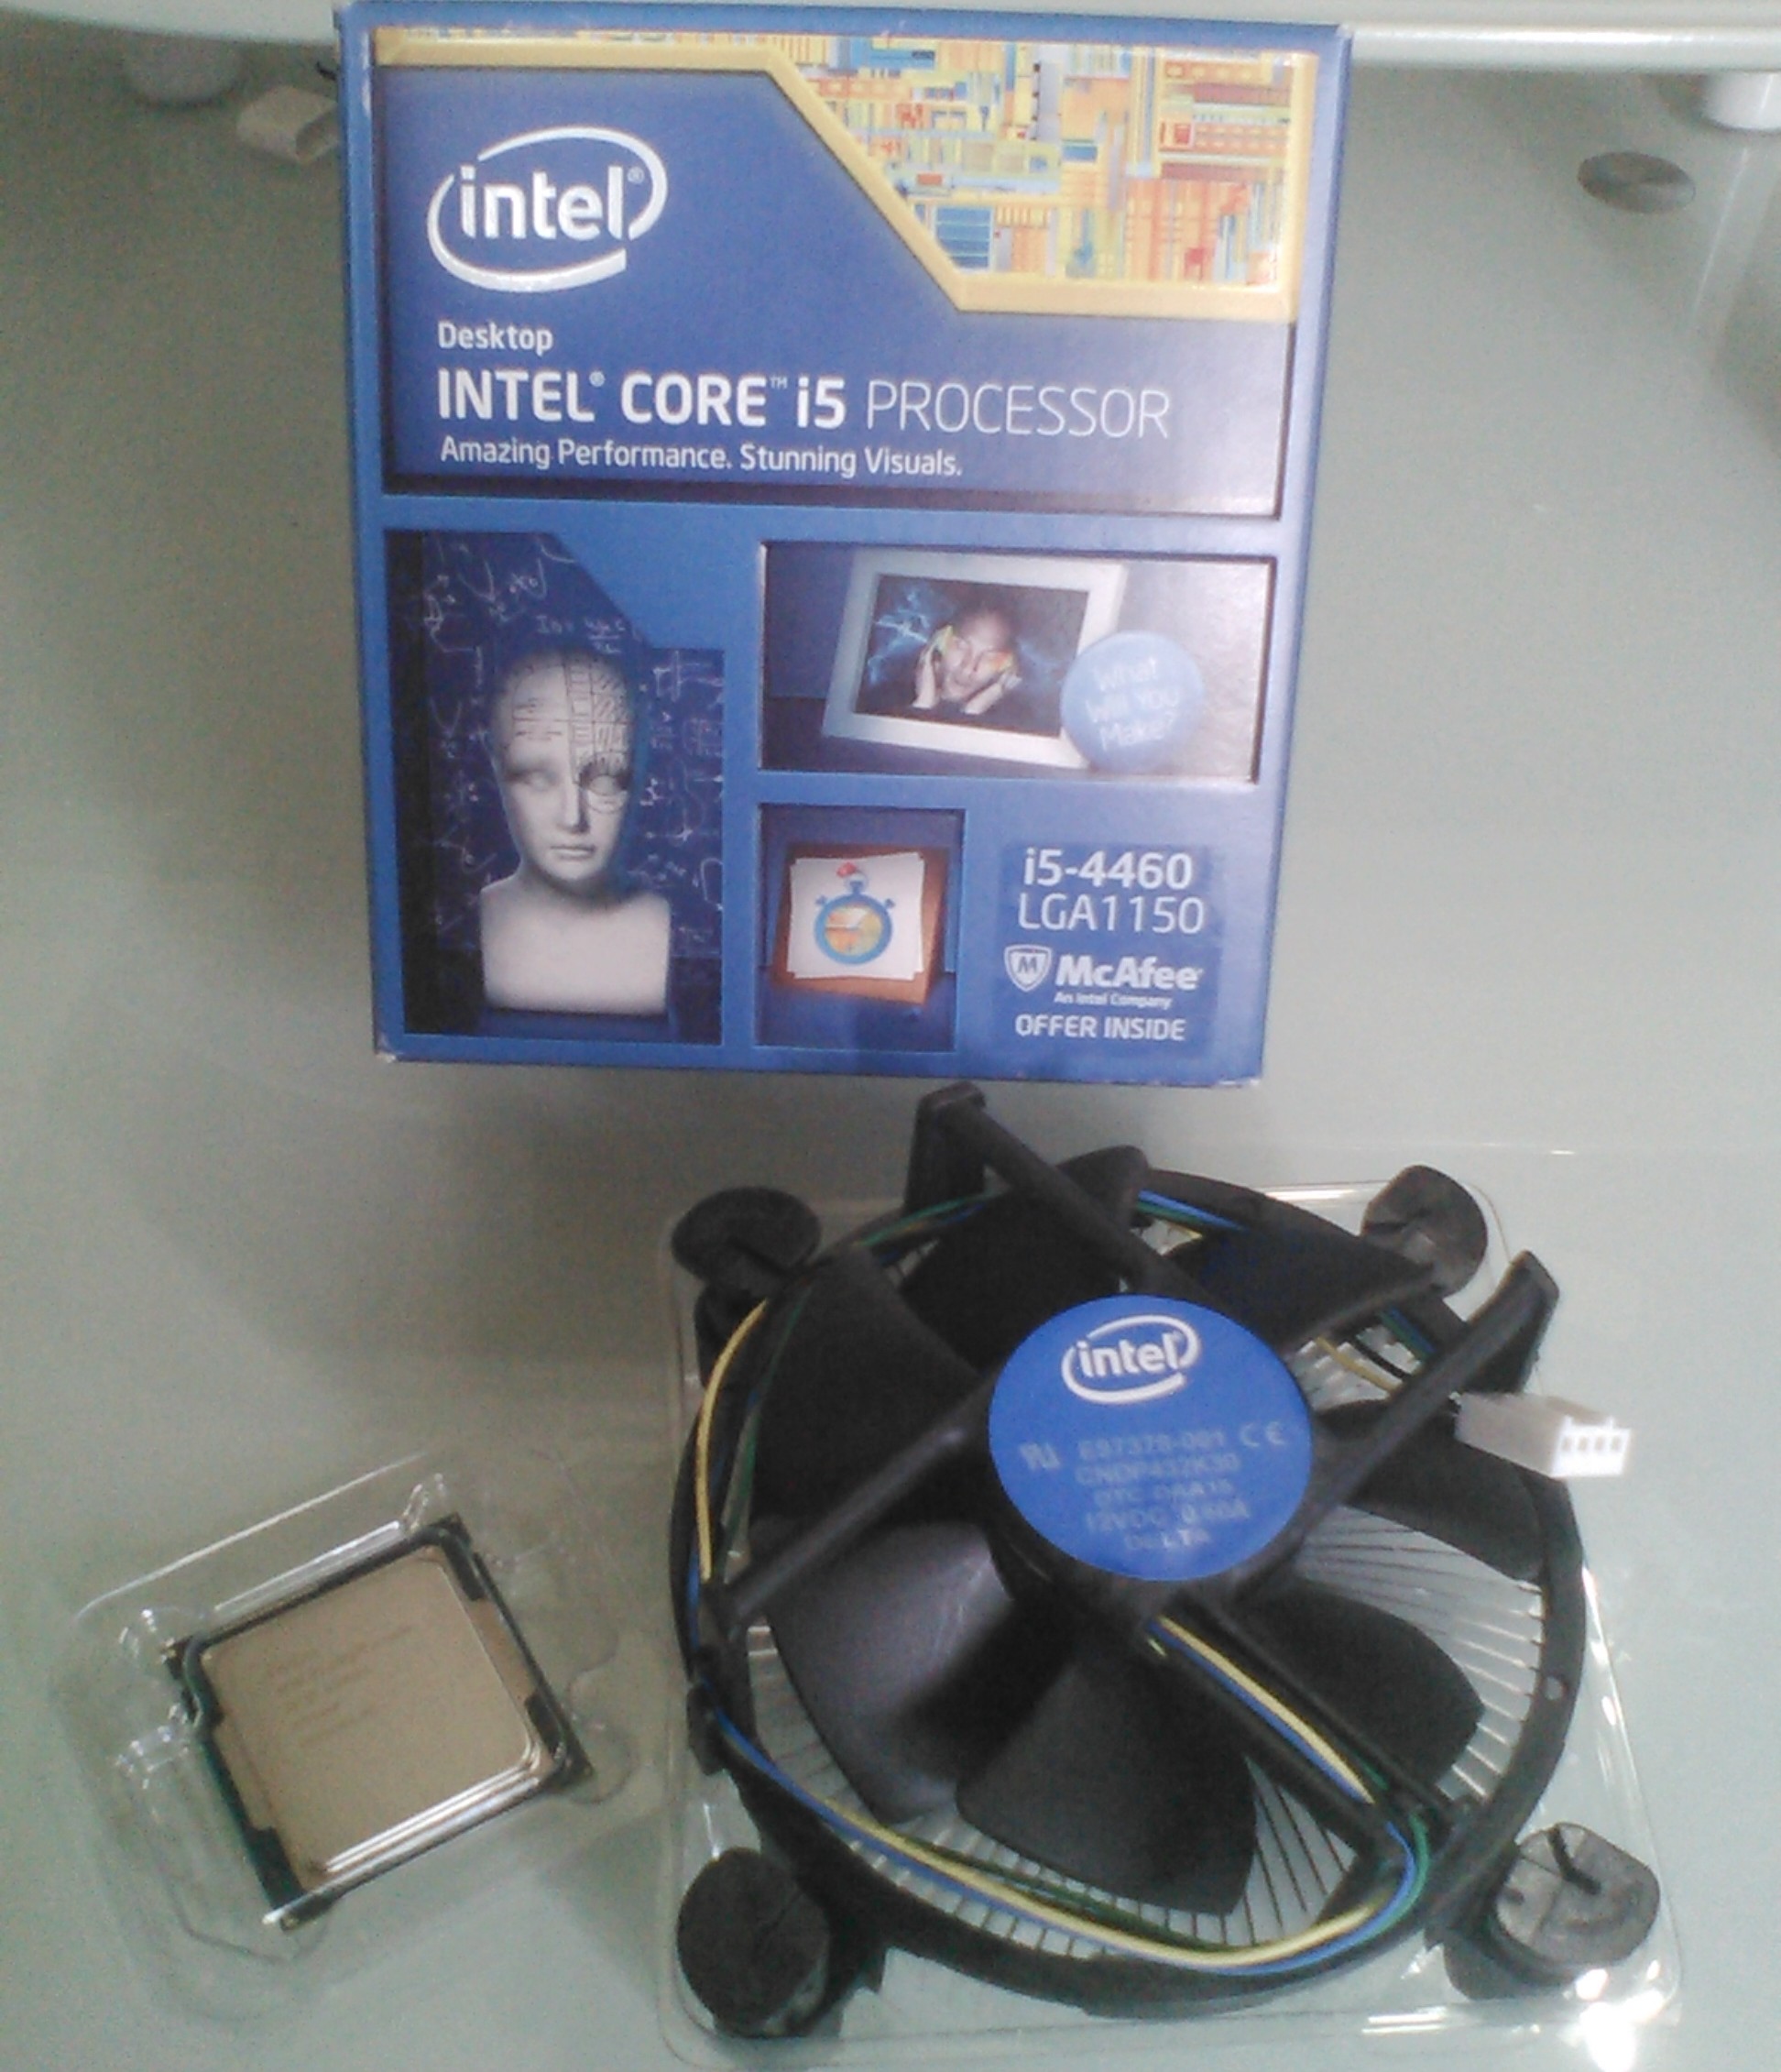
Processor (CPU): Intel Core i5-4460 (LGA1150) Quad core, 3.20GHz, no hyper-threading with intergrated HD 4600 Graphics. It’s perfect for light gaming, photoshop and video editing.
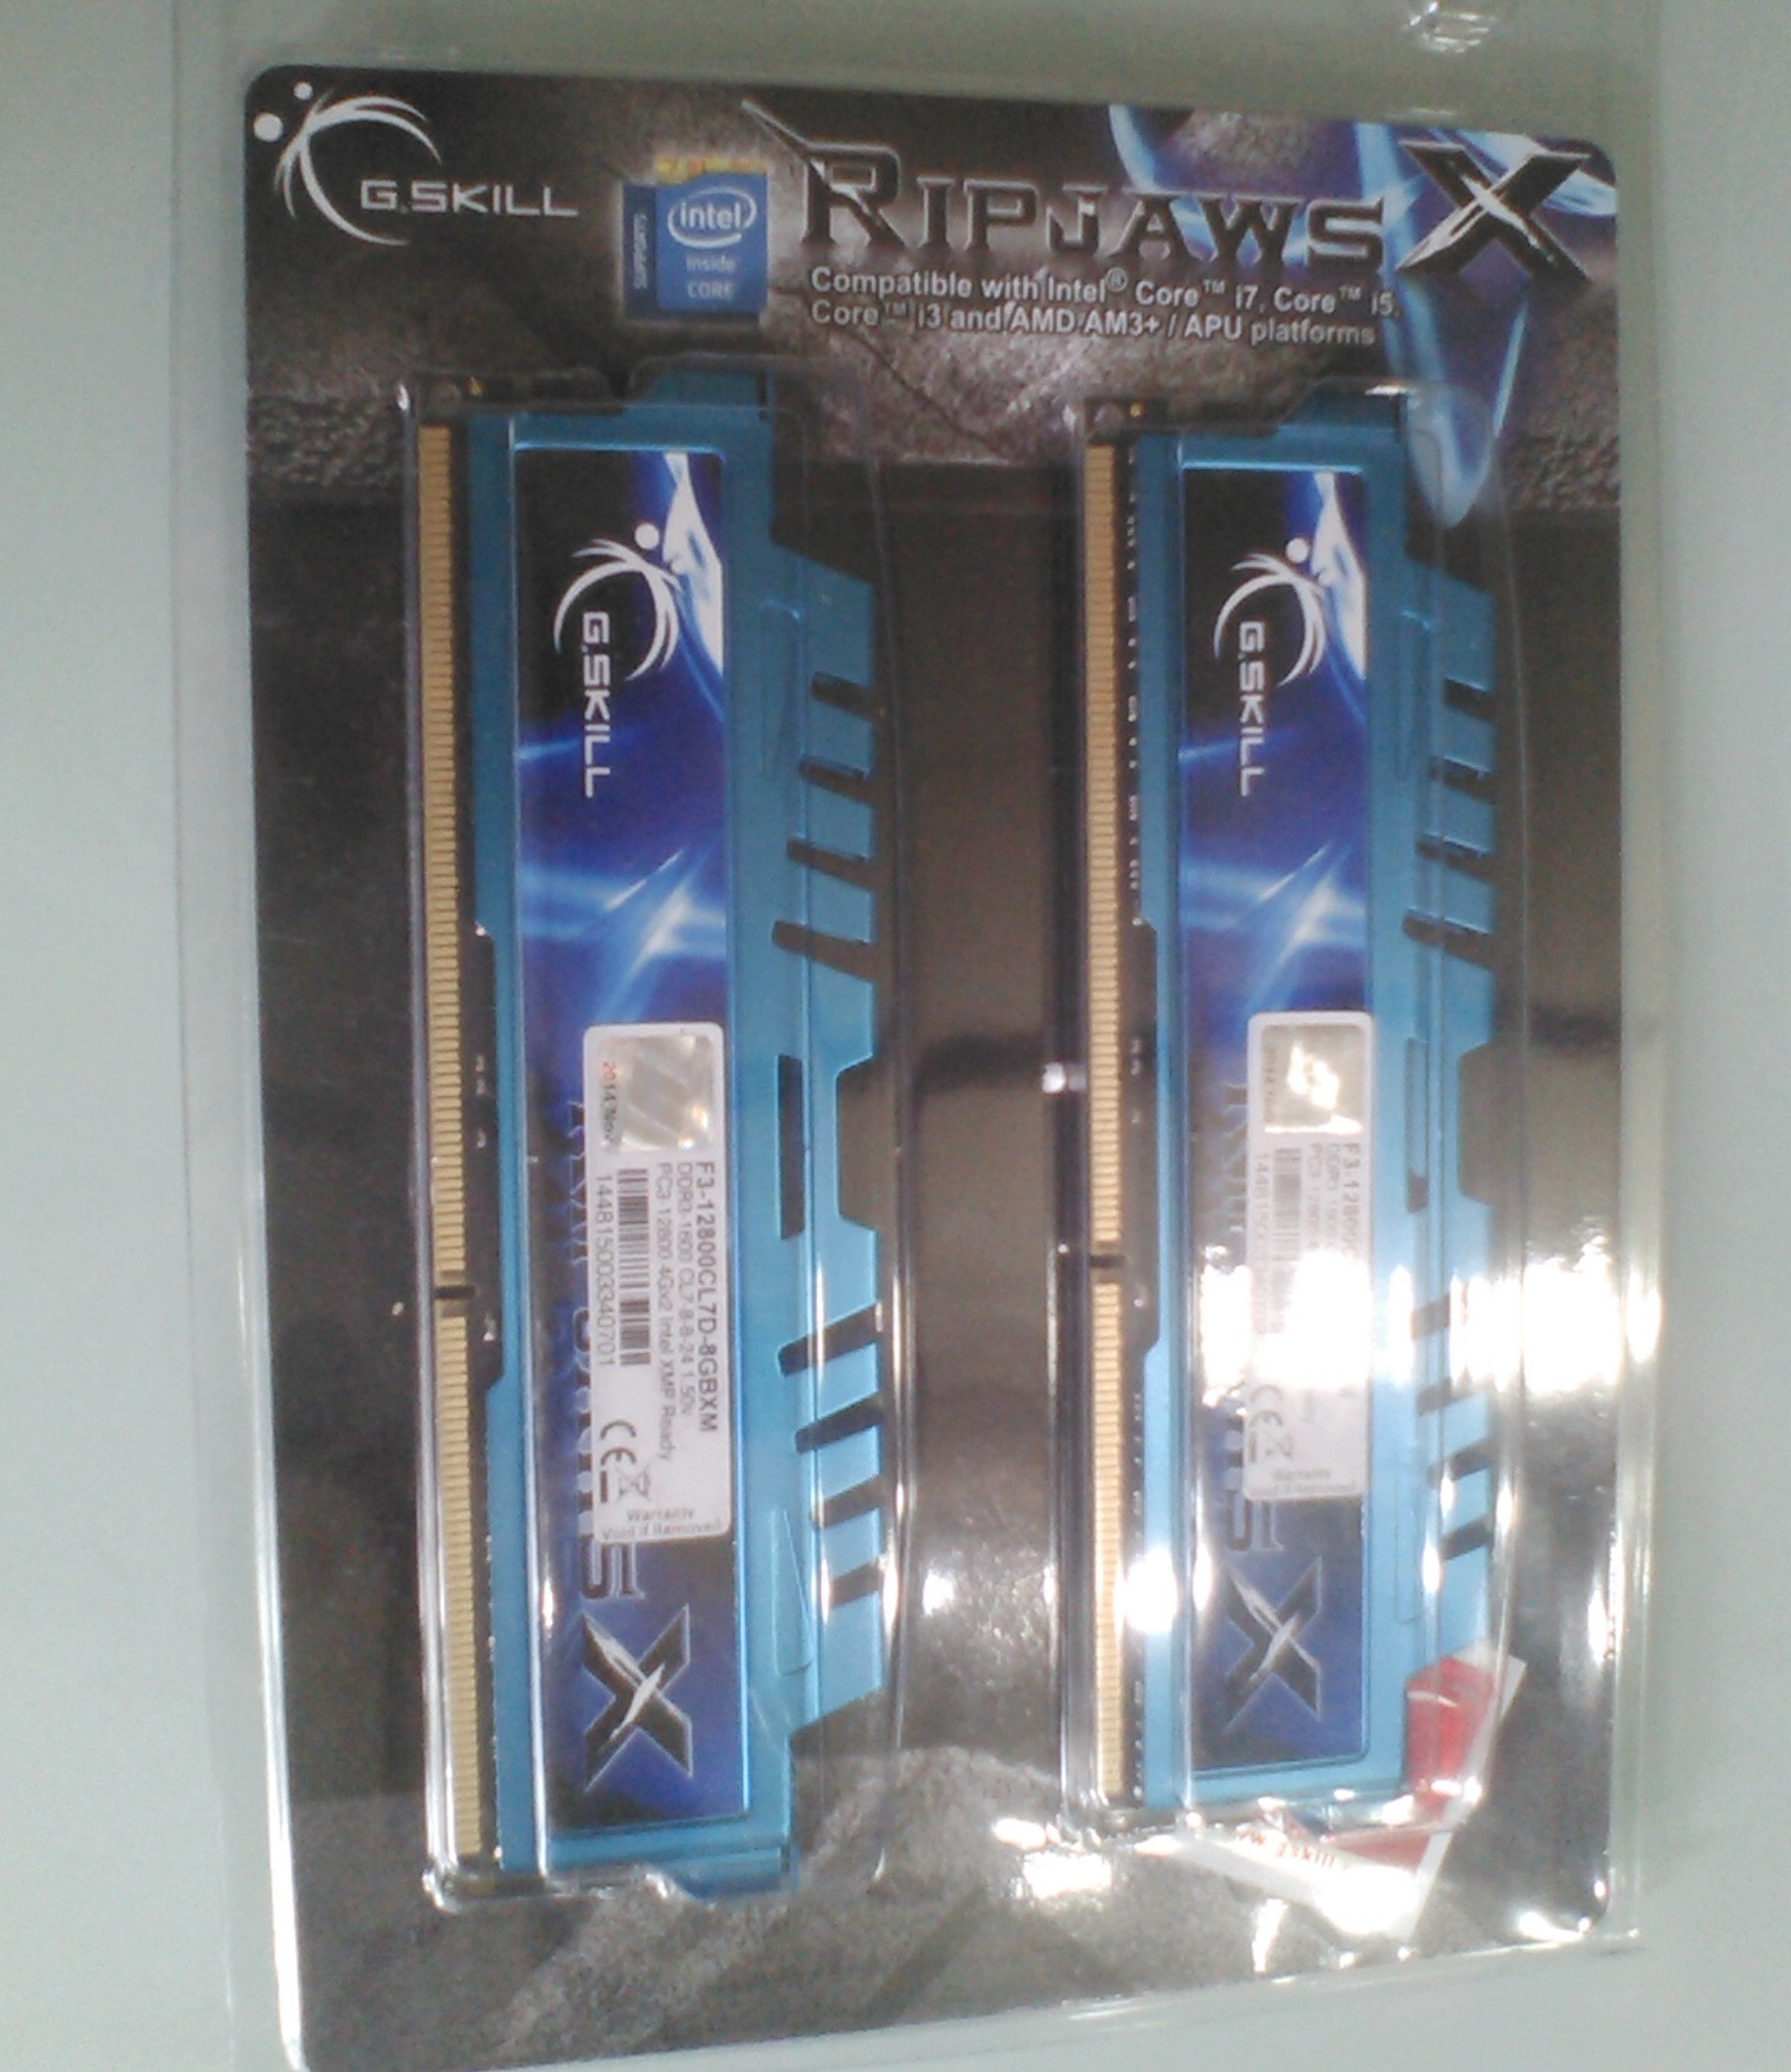
RAM (memory): G.Skill Ripjaws X Series
- 8GB (2 x 4GB)
- DDR3
- CL7 (response time)
- 1600MHz (pretty standard speed)
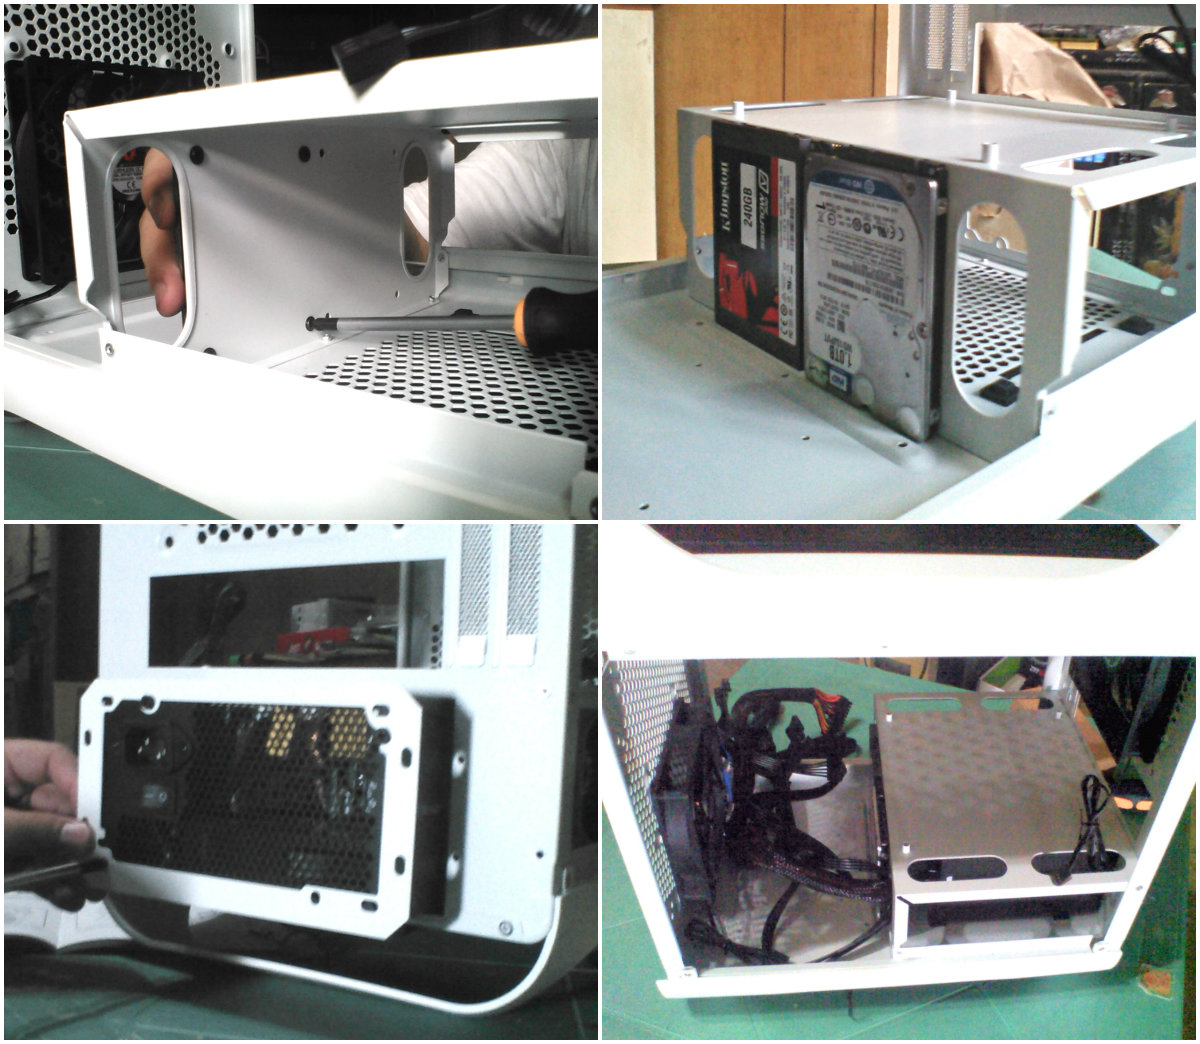
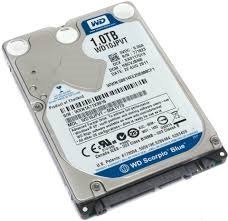
Hard Drives: Western Digital (1TB)
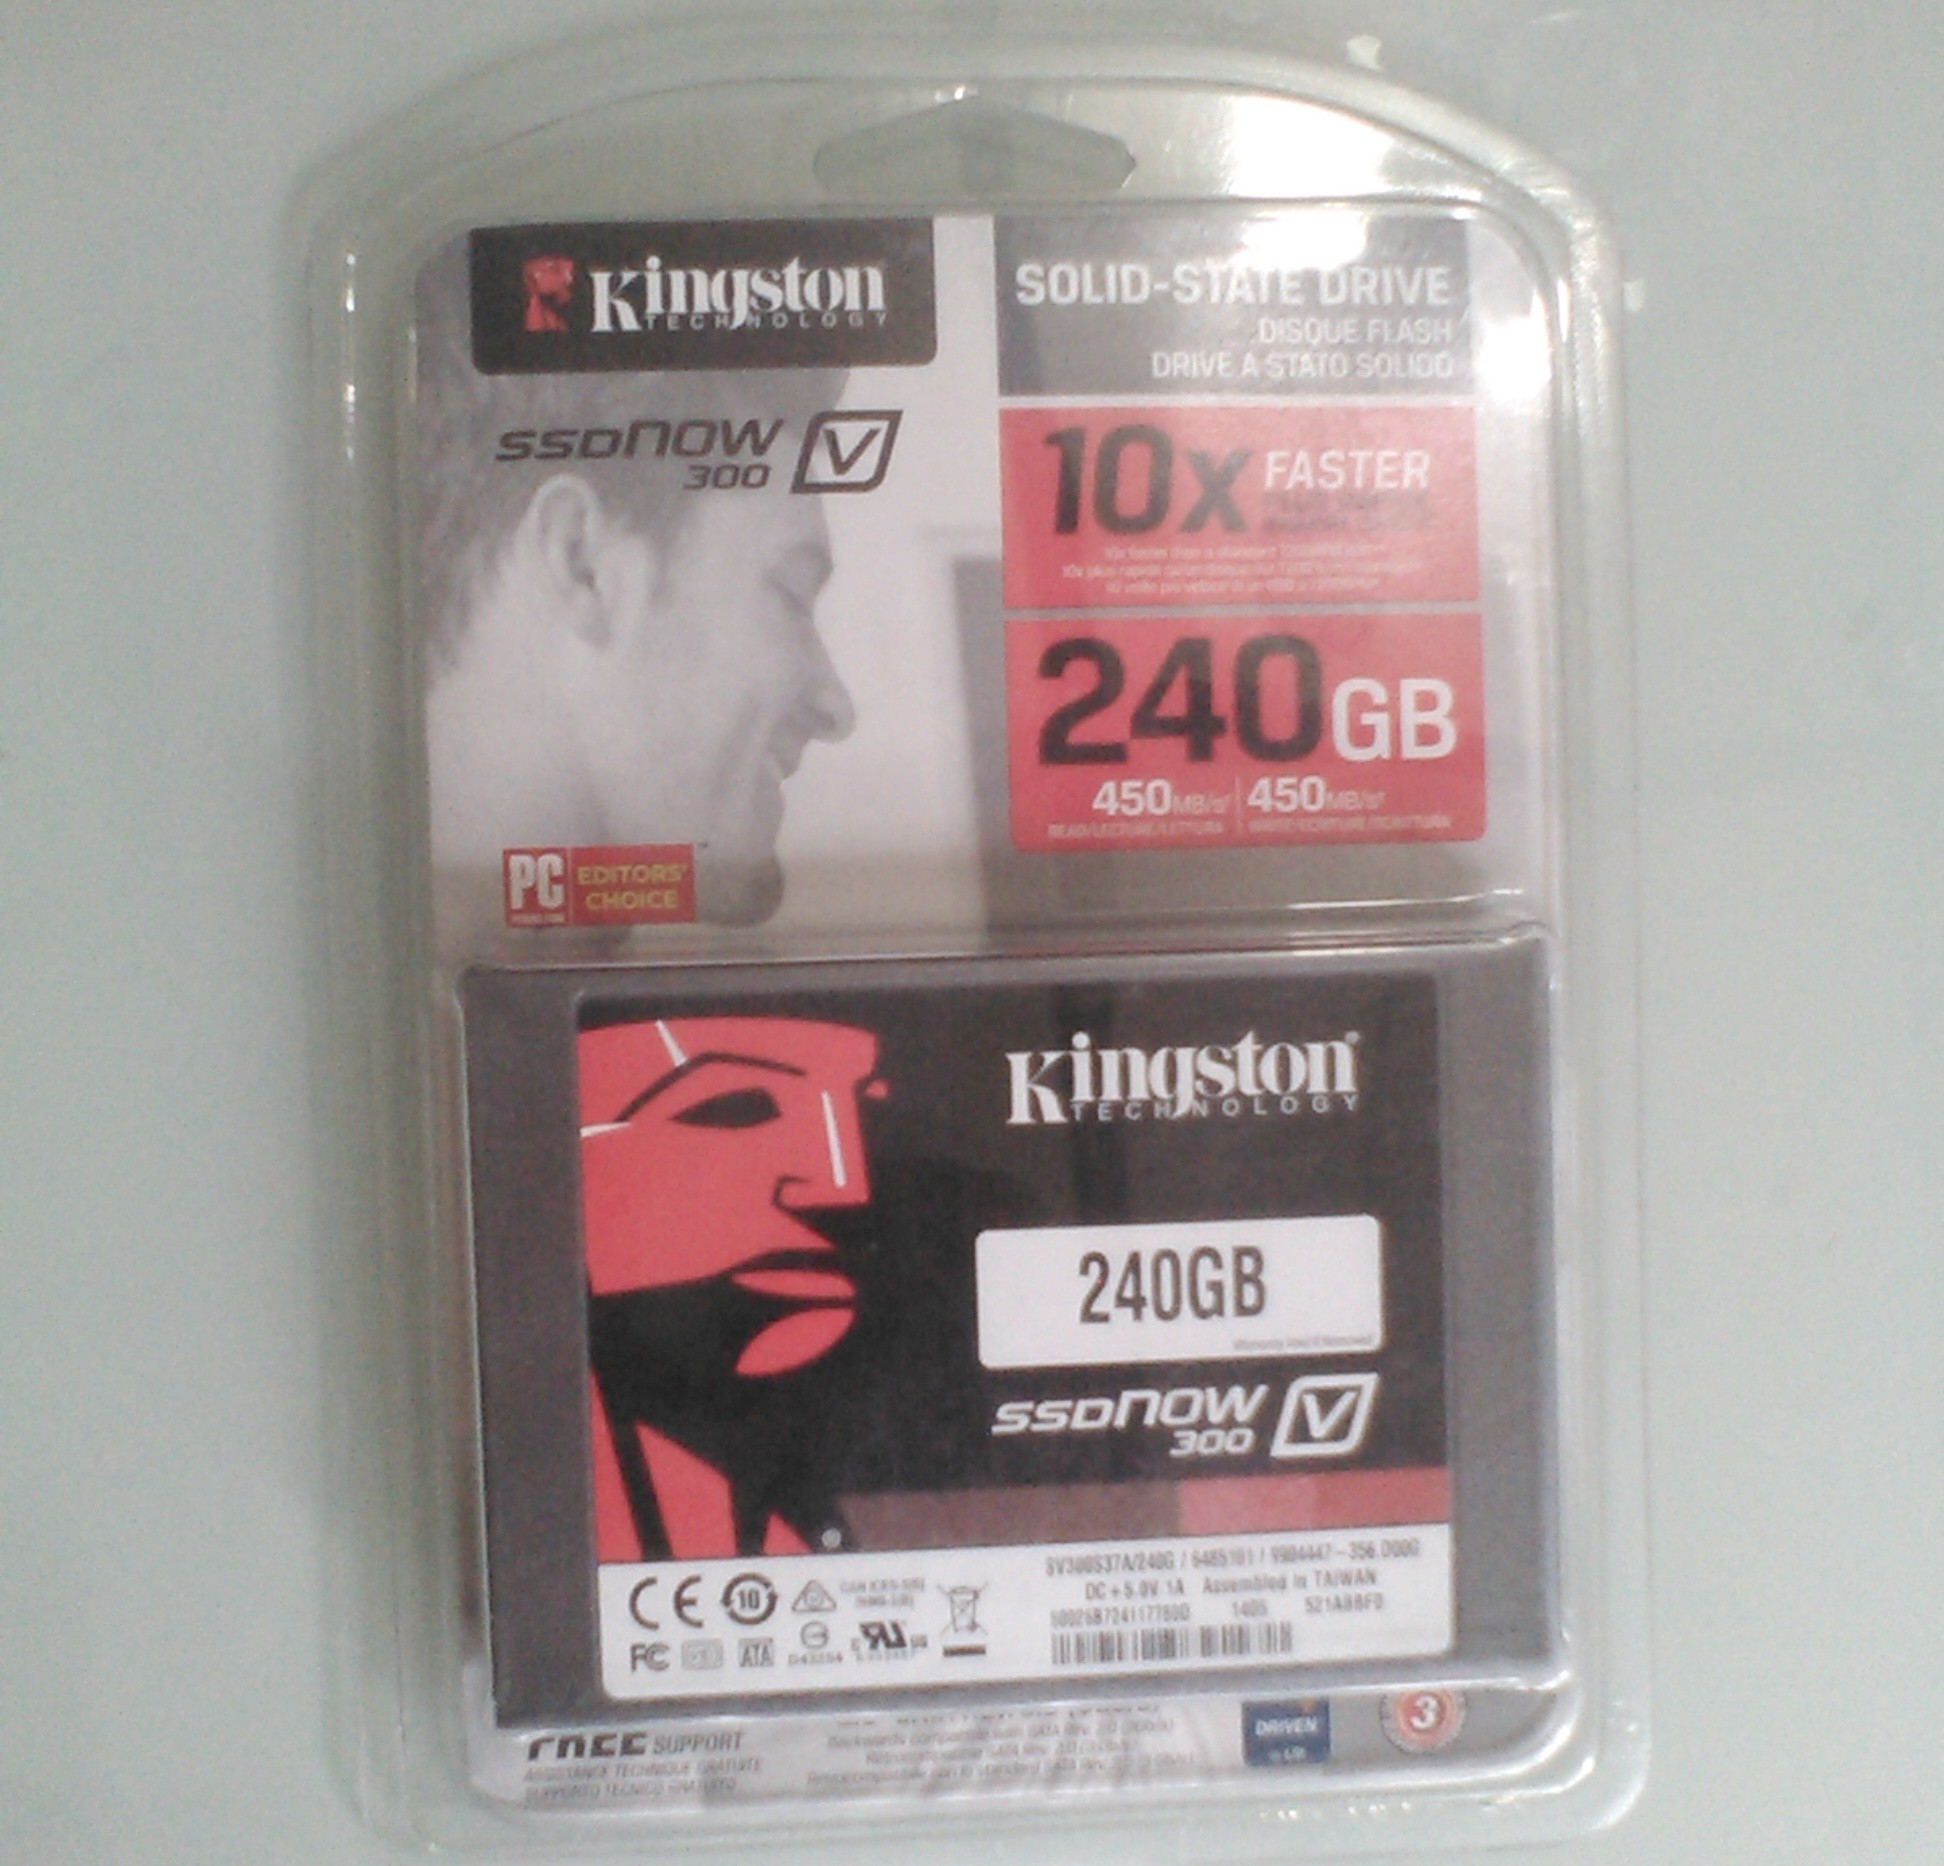
SSD: Kingston (240GB)
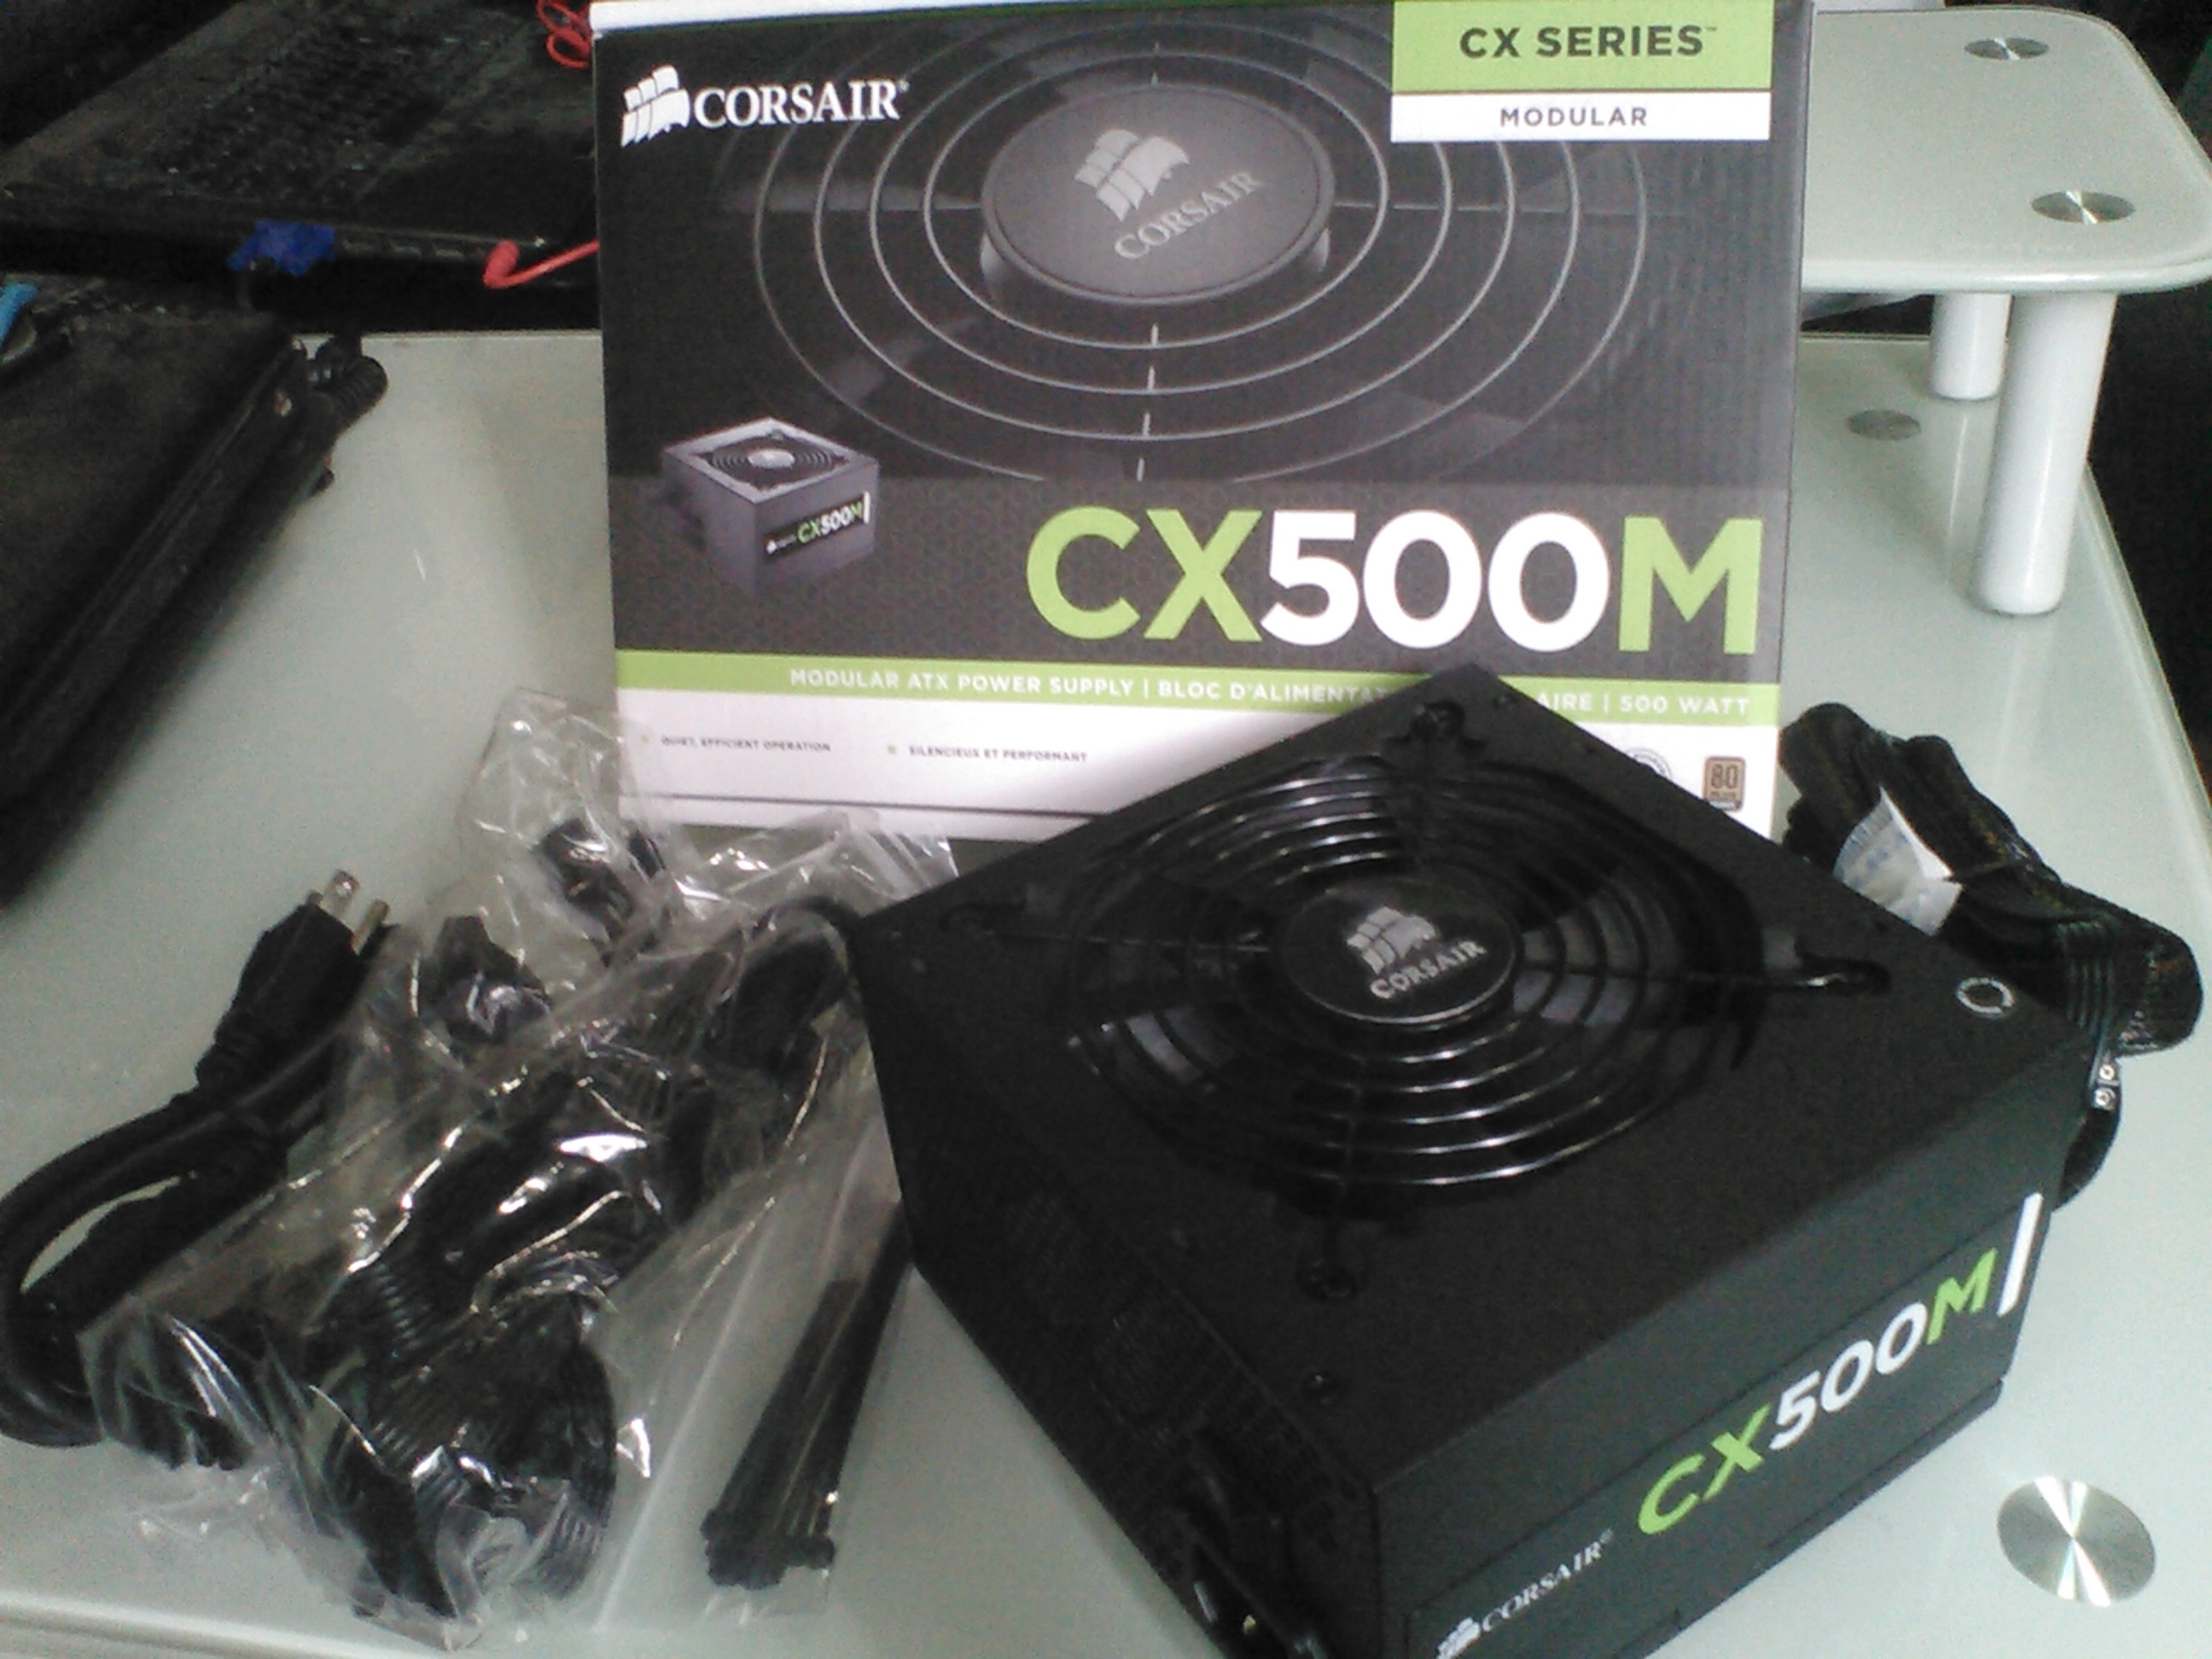
Power Supply: Corsair CX500M, 500 W. Far from crappy and I trust this brand.
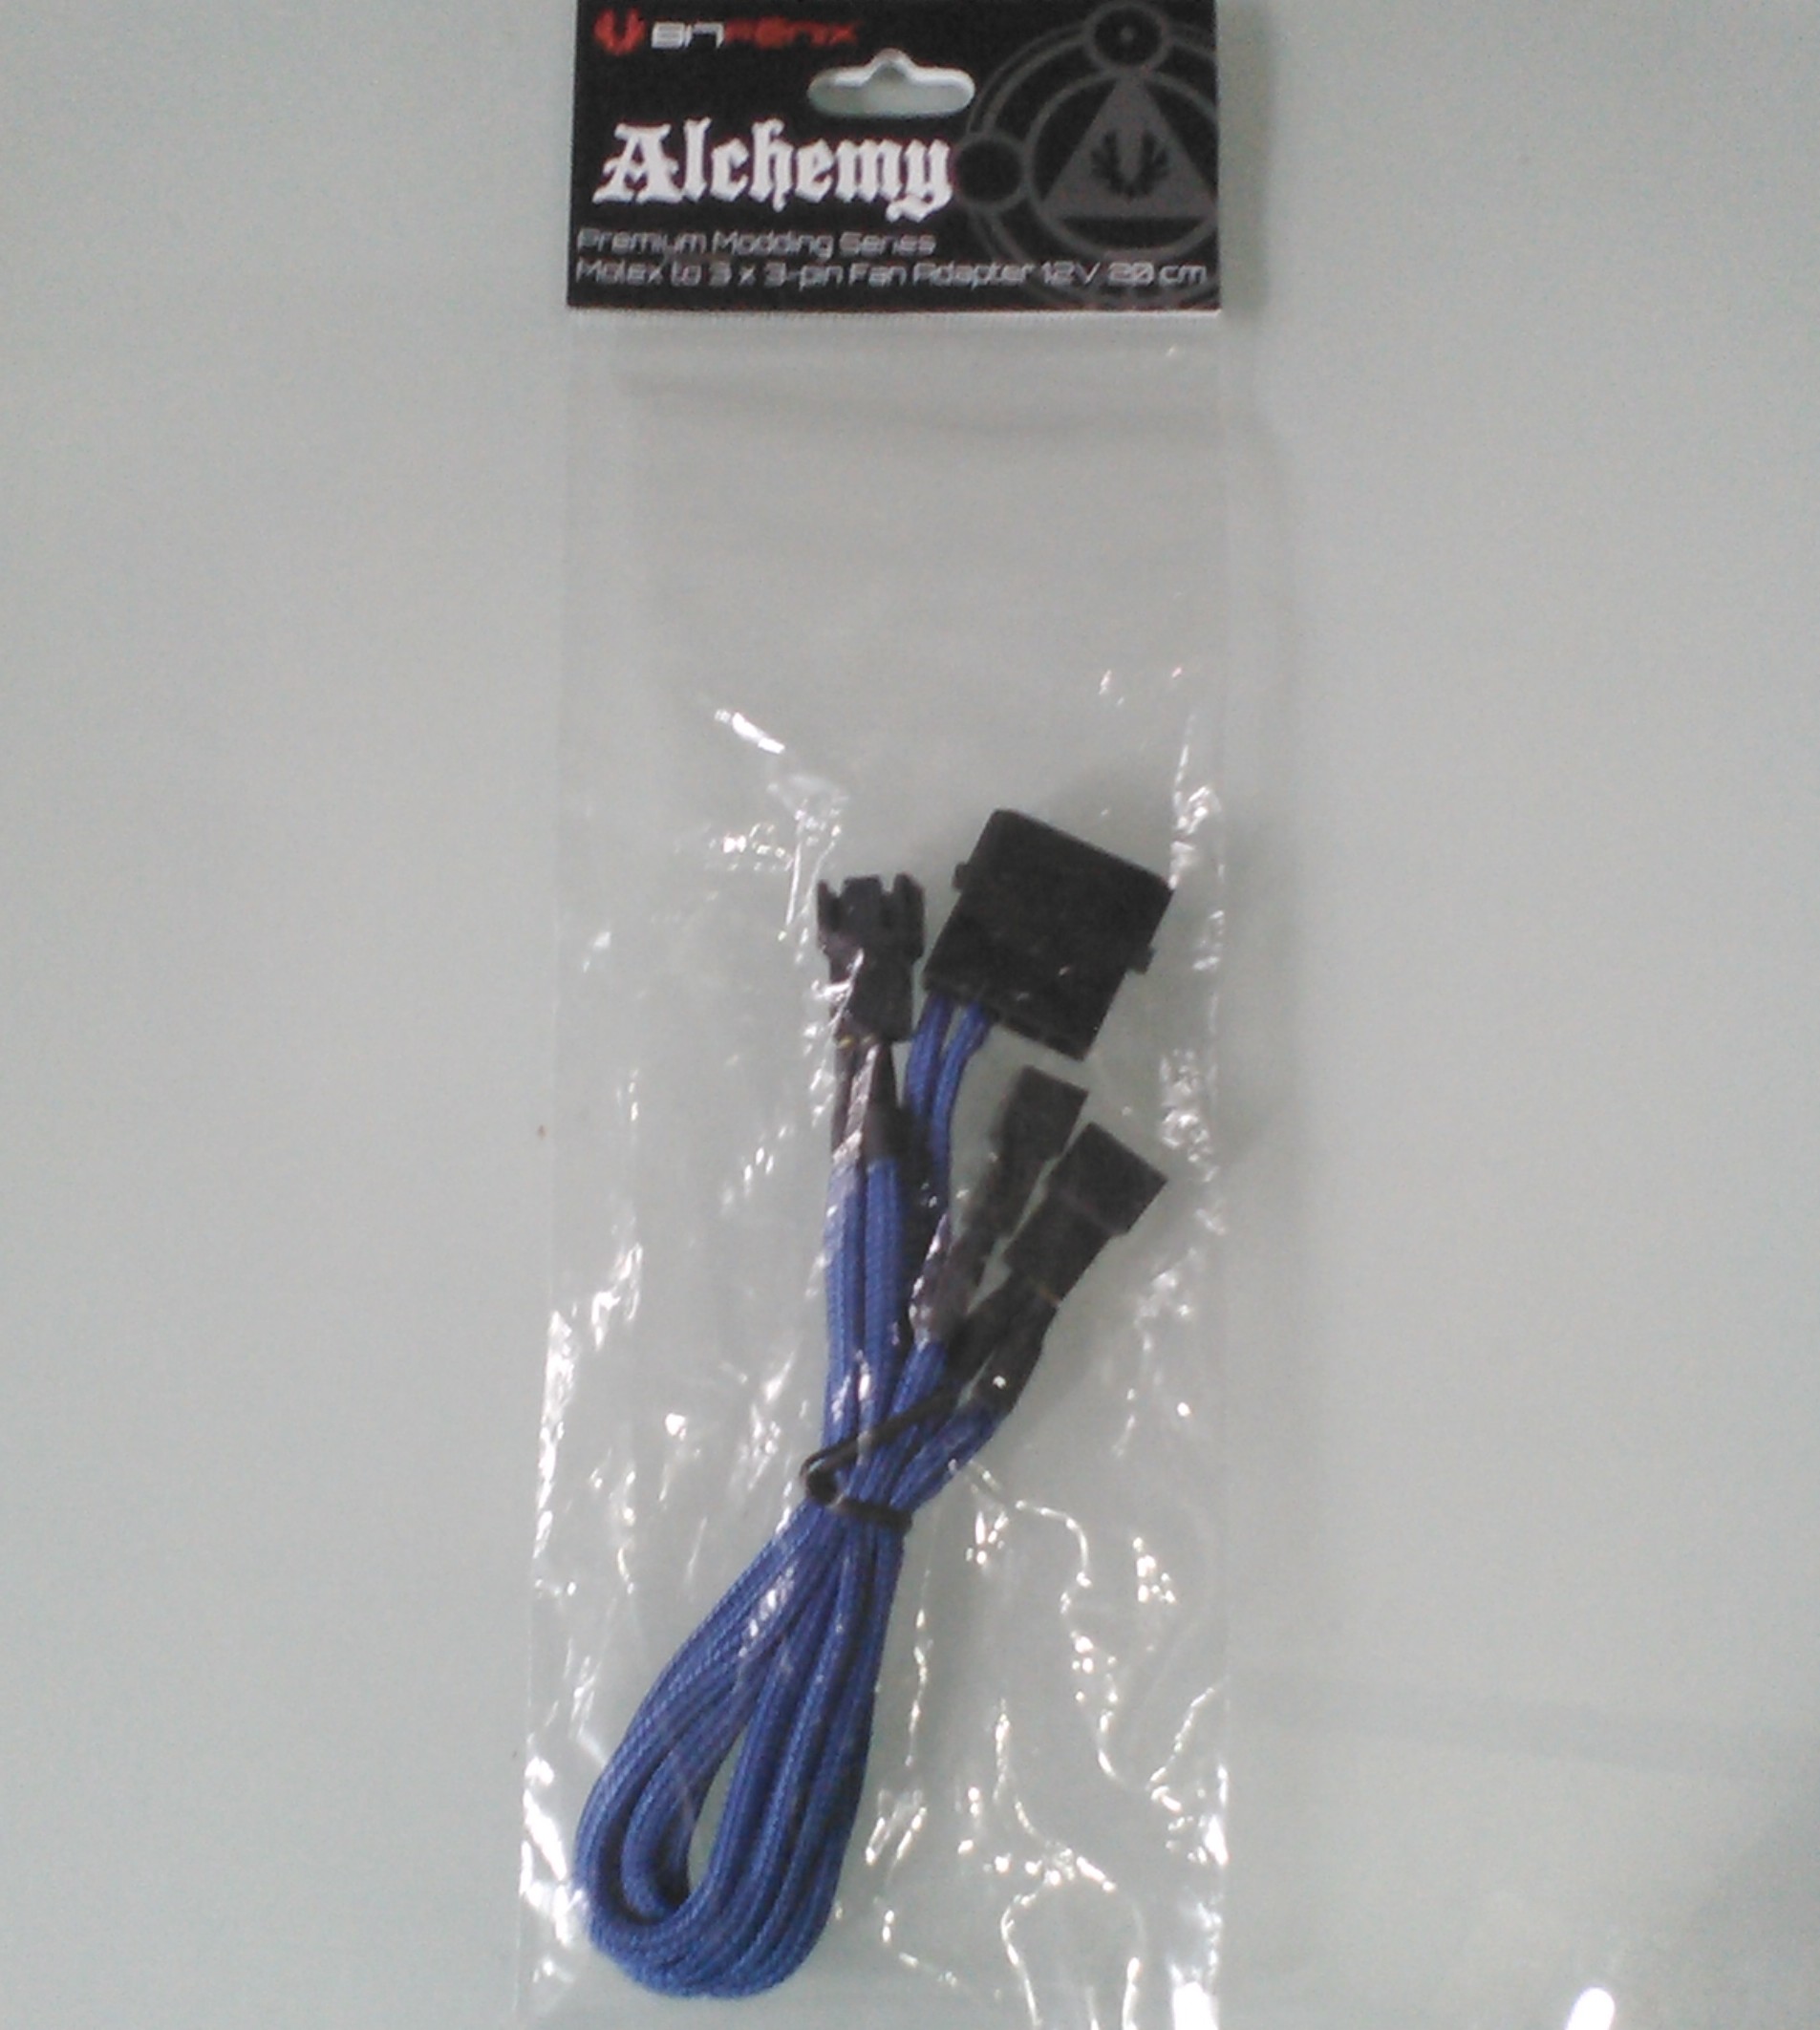
Molex cable:BitFenix Alchemy (3×3 fan adaptor) – My motherboard has only one fan header and my chassis has two fans. Bought this adaptor and connected the fan connectors to molex, molex connected to the power supply, completely ignoring the motherboard. Confusing? Totally. Don’t worry, it will all make sense once you start putting the components together.
BEFORE YOU START CONNECTING STUFF INTO OTHER STUFF, I have another list of things that you need to consider before you start building.
- Space – Do not assemble your desktop in the living room if you have little ones at home… can you just imagine your kids’ excitement once they see the odd little parts you’ve left lying around for them to play with and choke on? Dedicate a safe workspace or just do it at night while the kids are asleep.
- Discharge – You will be touching sensitive electronic components and a little static shock could damage your components, so avoid working in carpeted areas. Do not wear something that builds up friction and static electricity while moving about, like a loose shirt, or a wool shirt… you might as well rub a balloon on your head. All you really need to do is ground yourself. Discharge any static you’ve built up before touching any components by touching the metal part of the computer case. Want to touch the motherboard? Grasp the metal part of the computer case first then go ahead and touch the motherboard. I’m paranoid so I did it each time I needed to touch the components.
- Time – It took us 1 day to put Eve-O together. Cracked the case open while the kids took their midday nap, then we had to stop to prepare and eat lunch, feed the kids, play with them, prepare dinner, eat dinner and get them ready for bed… phew! We continued right after eating dinner and had her up and running by 12 midnight. Give yourself at least a day to work on the computer.
- Small box, bowls, envelopes – Anything that you can use to temporarily store tiny screws. Count, sort and match them up with the diagram. Don’t forget to label what’s what or you will hate yourself for spending extra minutes testing which screw will fit the motherboard to screw into the case.
- Screwdriver – Phillips screwdriver. You will need a standard size and a fine-tipped one. However, you will use the fine-tipped one majority of the time and if you plan to buy a case like mine – I admire your sophisticated taste – you will need a SHORT screwdriver or you will have a hard time just getting your screwdriver inside the case due to the size of your beautiful and classy case.
ASSEMBLY
I’ll write a separate post for assembly guide, can’t go into detail right now because it’s 12:40, kids are asleep and it’s raining – my kind of evening.